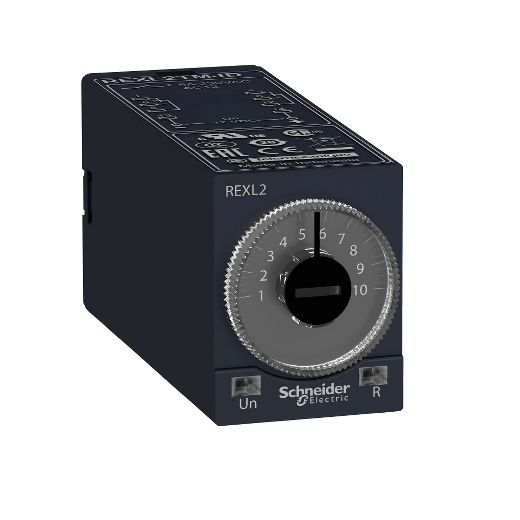
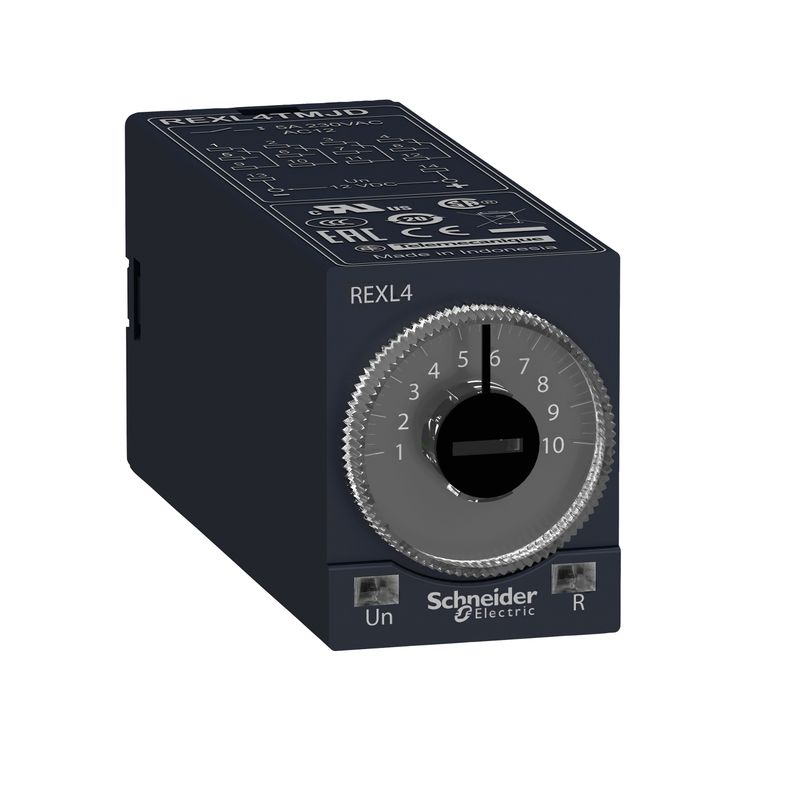
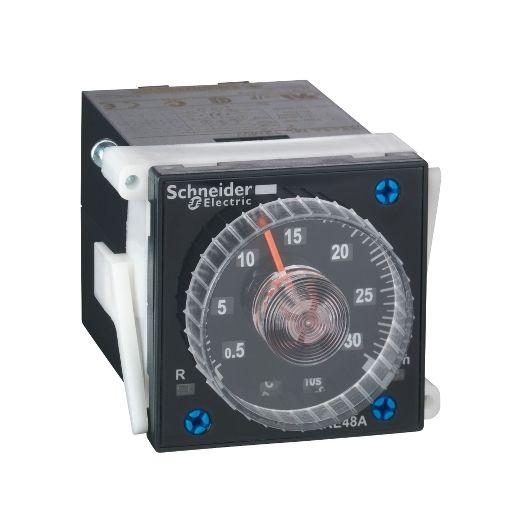
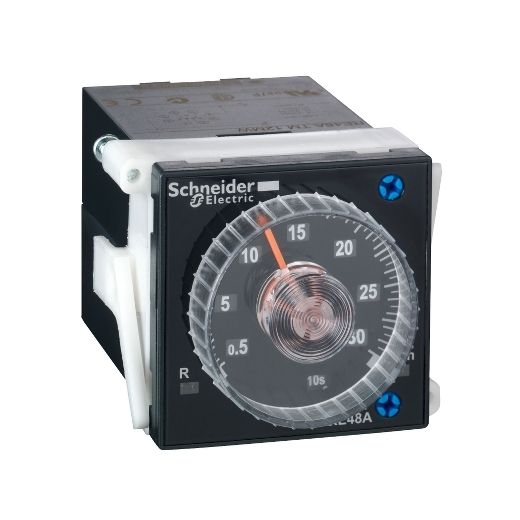
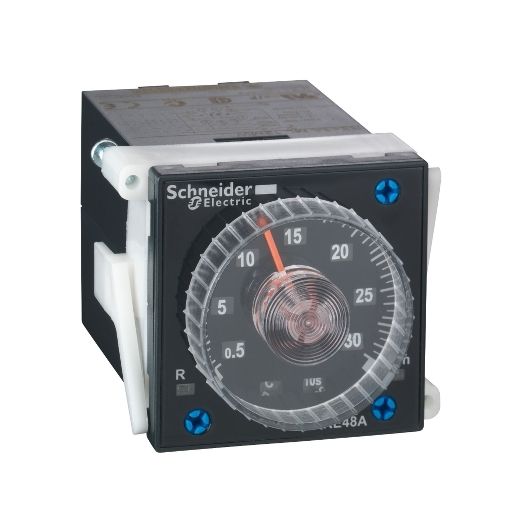
Plug in type
The REXL series from Schneider Electric includes timer relays designed for various timing functions. One common function is the "delay on" timer. These timers are essential in applications where a delay is required before a circuit is activated.
Key Features of REXL Delay On Timer Relays
- Delay On Function:
- Starts timing when the control signal is applied.
- Activates the output relay after the set delay time has elapsed.
- Adjustable Time Range:
- The delay time can be adjusted using dials or digital settings.
- Typically covers a wide range from seconds to minutes, and sometimes even hours.
- Relay Output:
- Equipped with relay contacts (often DPDT) for switching loads.
- Provides reliable operation and can handle various load types.
- LED Indicators:
- LED indicators show the status of the relay and timing cycle.
- Facilitates easy monitoring and troubleshooting.
- Compact and Plug-In Design:
- Designed for easy integration into control panels with a compact form factor.
- Plug-in design allows for easy installation and replacement.
- Wide Supply Voltage Range:
- Can operate on a variety of supply voltages, increasing versatility.
Example Applications
- Industrial Automation: Provides controlled delays for the sequential operation of machinery.
- Lighting Systems: Delays the activation of lights to prevent sudden surges or to create staged lighting effects.
- Motor Control: Delays motor startup to prevent inrush current from damaging the system.
- HVAC Systems: Ensures proper delays in heating or cooling systems for efficient operation.
Selecting the Right REXL Timer Relay
When selecting a REXL delay on timer relay, consider the following:
- Timing Range: Ensure the timer can be set to the required delay duration for your application.
- Contact Configuration: Choose the appropriate contact configuration (e.g., DPDT, 4PDT) based on the load and control requirements.
- Supply Voltage: Verify that the relay is compatible with the supply voltage in your system.
- Load Capacity: Ensure the relay contacts can handle the load current and voltage.
Installation and Usage
- Mounting: Typically designed for DIN rail mounting, making installation in control panels straightforward.
- Wiring: Follow the wiring diagram provided in the user manual for correct connections.
- Setting the Time Delay: Adjust the delay time using the front-panel dial.
- Testing: Once installed and wired, test the timer to ensure it operates correctly with the desired delay.
For detailed technical specifications, wiring diagrams, and operational instructions, refer to the datasheets and user manuals provided by Schneider Electric for the specific REXL delay on timer relay model you are using.


